
Create a Merchant Account
Adding your Merchants as part of the whitelabel Payment Services solution.
This page is only relevant for you if you plan to use Layer1's Payment Services—merchant-facing crypto checkout experience.
To create an account for merchants, do the following:
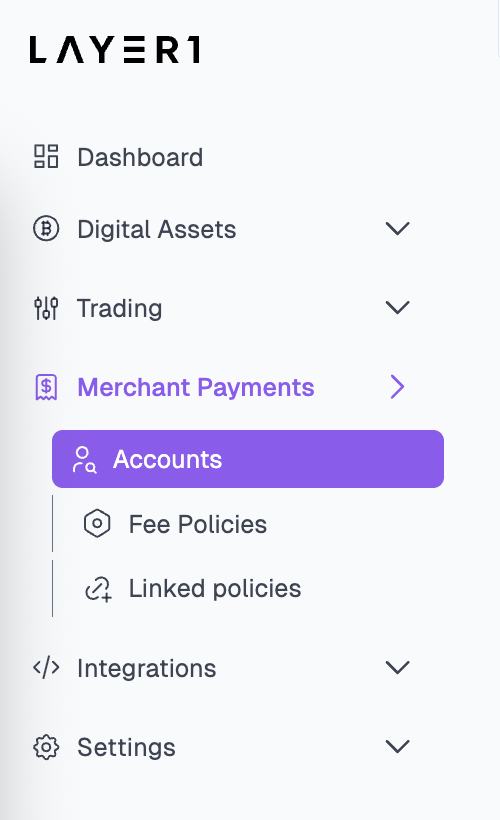
- Go to Merchant Payments > Accounts.
- Click + Account and on the Create an Account screen, complete the following fields:
- Name: Enter the business name of the future merchant account.
- Network whitelist: Enter IP addresses to restrict platform access for the admin user and the API key of this account. Otherwise, enter
0.0.0.0/0. - Owner first name and last name: Enter the full name of the admin user who will manage the account.
- Owner email address: Enter the admin user's email address to which the invitation message will be sent. This user will have all required roles as default.
- Reference: Enter or click the Generate icon to add the unique ID of the account to be used internally.
If you’re exploring the account portal, use a different email address than the one you used for your tenant user.
Adding “+1” to your existing email alias is an easy way to do this (see example below).
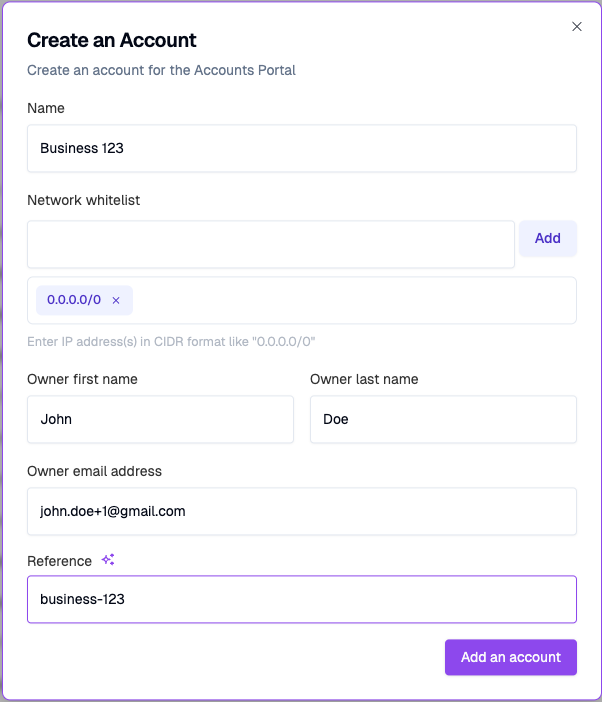
- Click Add an account. Check your email and complete the signup process by following instructions from the invitation message.
- Go to the Sandbox Account Portal.
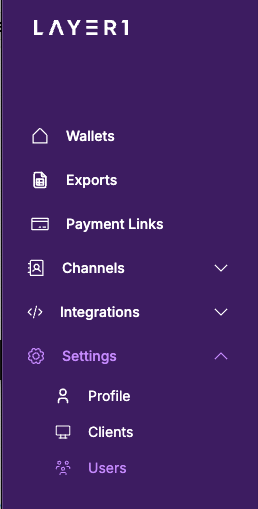
Add users
You can add users for your merchant in the Sandbow Account Portal. For that, go to Settings > Users. The flow is the same as adding users to the tenant. Use the Roles descriptions to provide appropriate access levels for users.
Updated 3 months ago
Add wallets, channel, and payment links for the merchants.