Add TronLink Wallet for TRX and USDT
Set Up a TronLink Wallet for TRX and USDT TRC20 tokens.
To simulate payment transactions using the Payments API in Sandbox, set up a TronLink wallet and add test tokens to it. This process allows you to experiment with and verify the API's functionality in a test environment.
Install TronLink extension
- Go to Chrome Web Store, and on the TronLink extension page, click Add to Chrome.
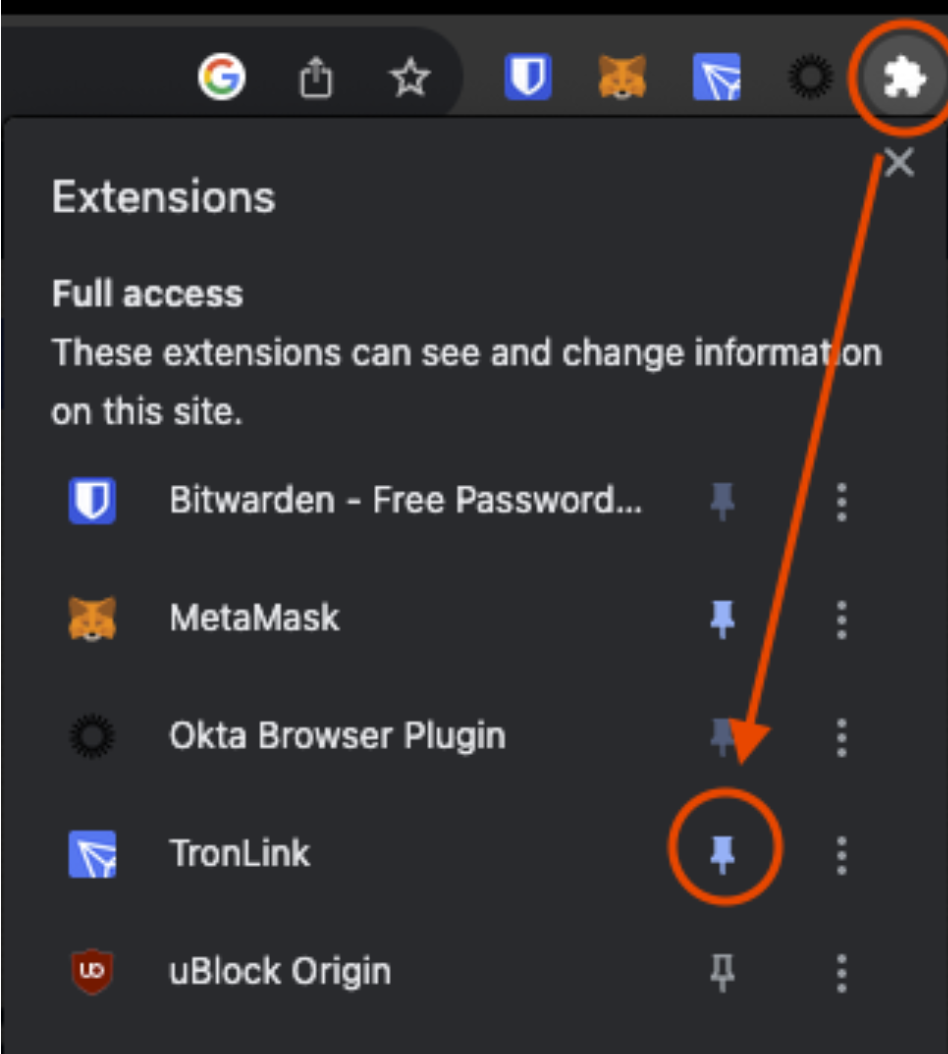
- Optional. Pin the extension to your browser by clicking the Puzzle icon > Pin icon next to TronLink.
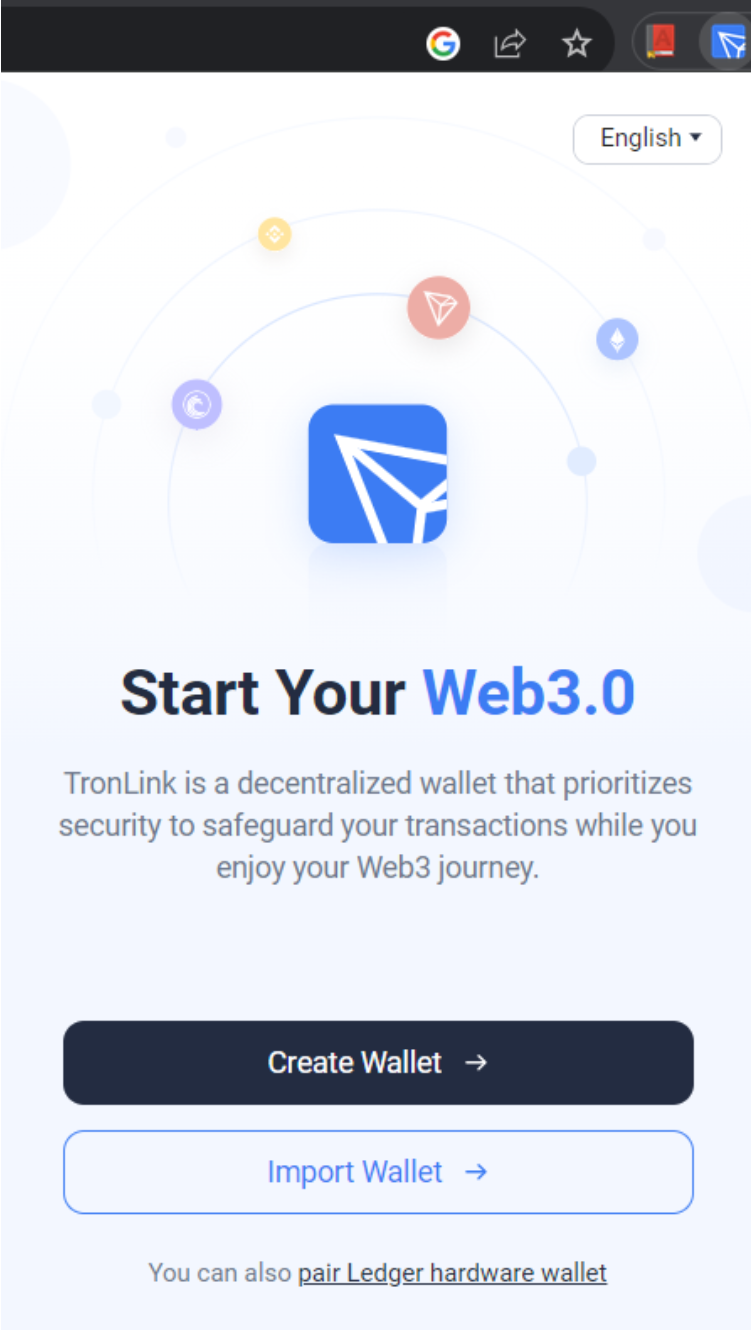
- Click the TronLink icon to open the extension, and then click Create Wallet. Follow the steps carefully and save your password and recovery codes in a safe place.
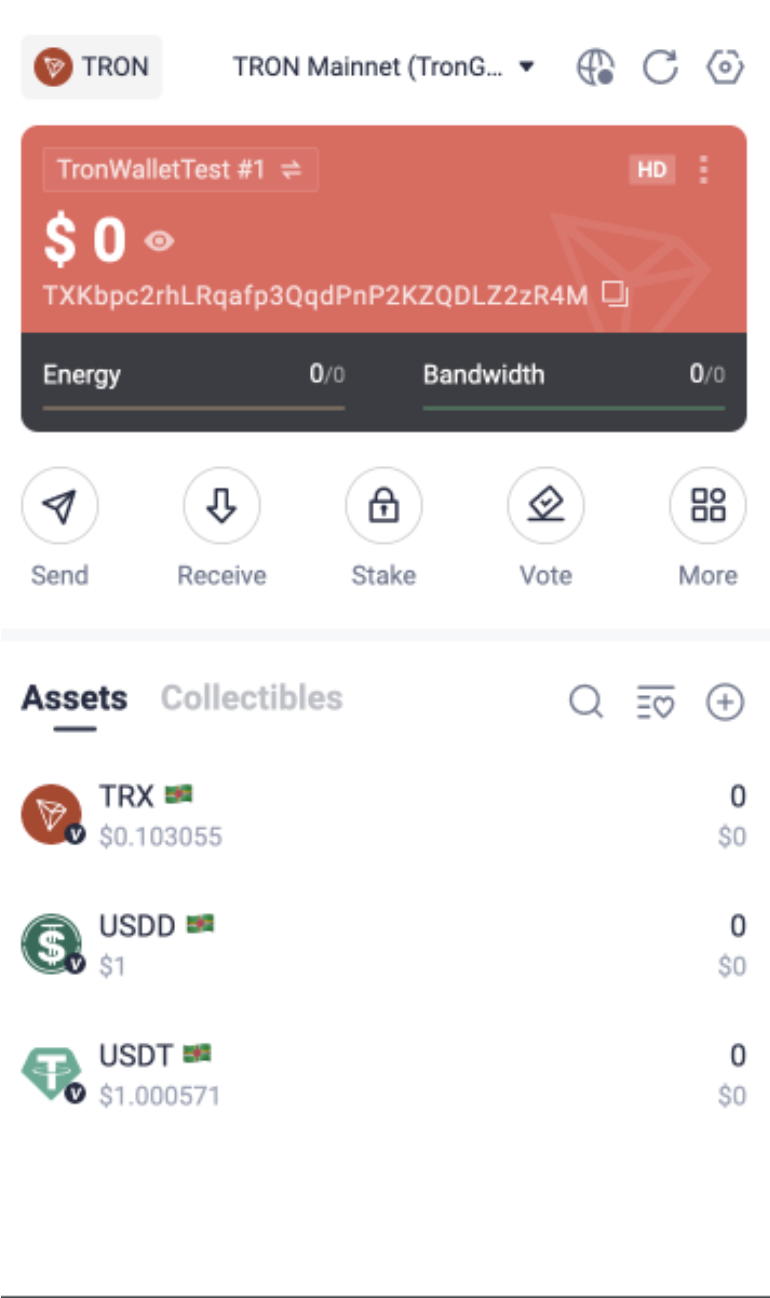
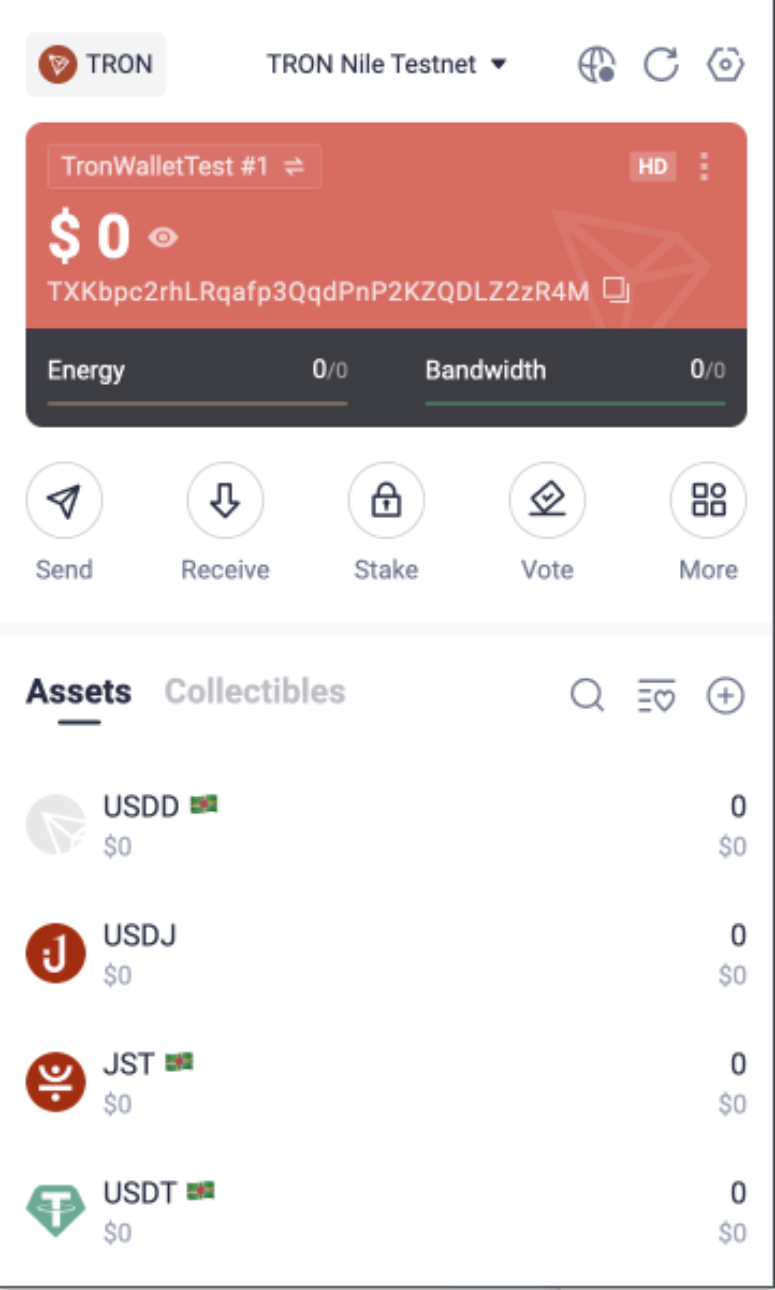
- By default, the Tron Mainnet network is selected. To change to another one, click the Networks dropdown at the top.
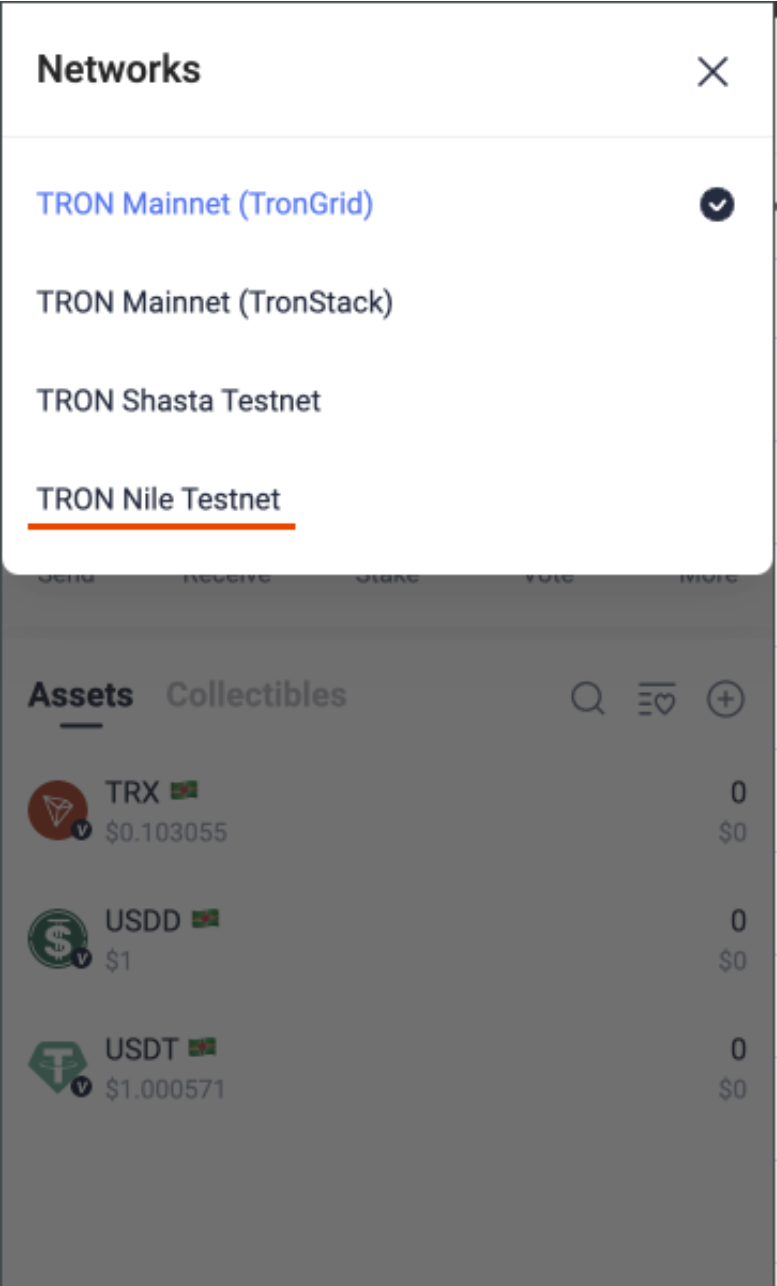
- The Networks tab opens. Select TRON Nile Testnet.
The TRON Nile Testnet at the top indicates you are now on the Nile TestNet. Now you can receive funds and test transactions in the sandbox.
Add TRON to your wallet
To activate your TronLink account, add TRON test coins to it. For that,
- In the TronLink extension, copy the wallet address.
- Go to Nile Testnet and enter your TronLink wallet address.
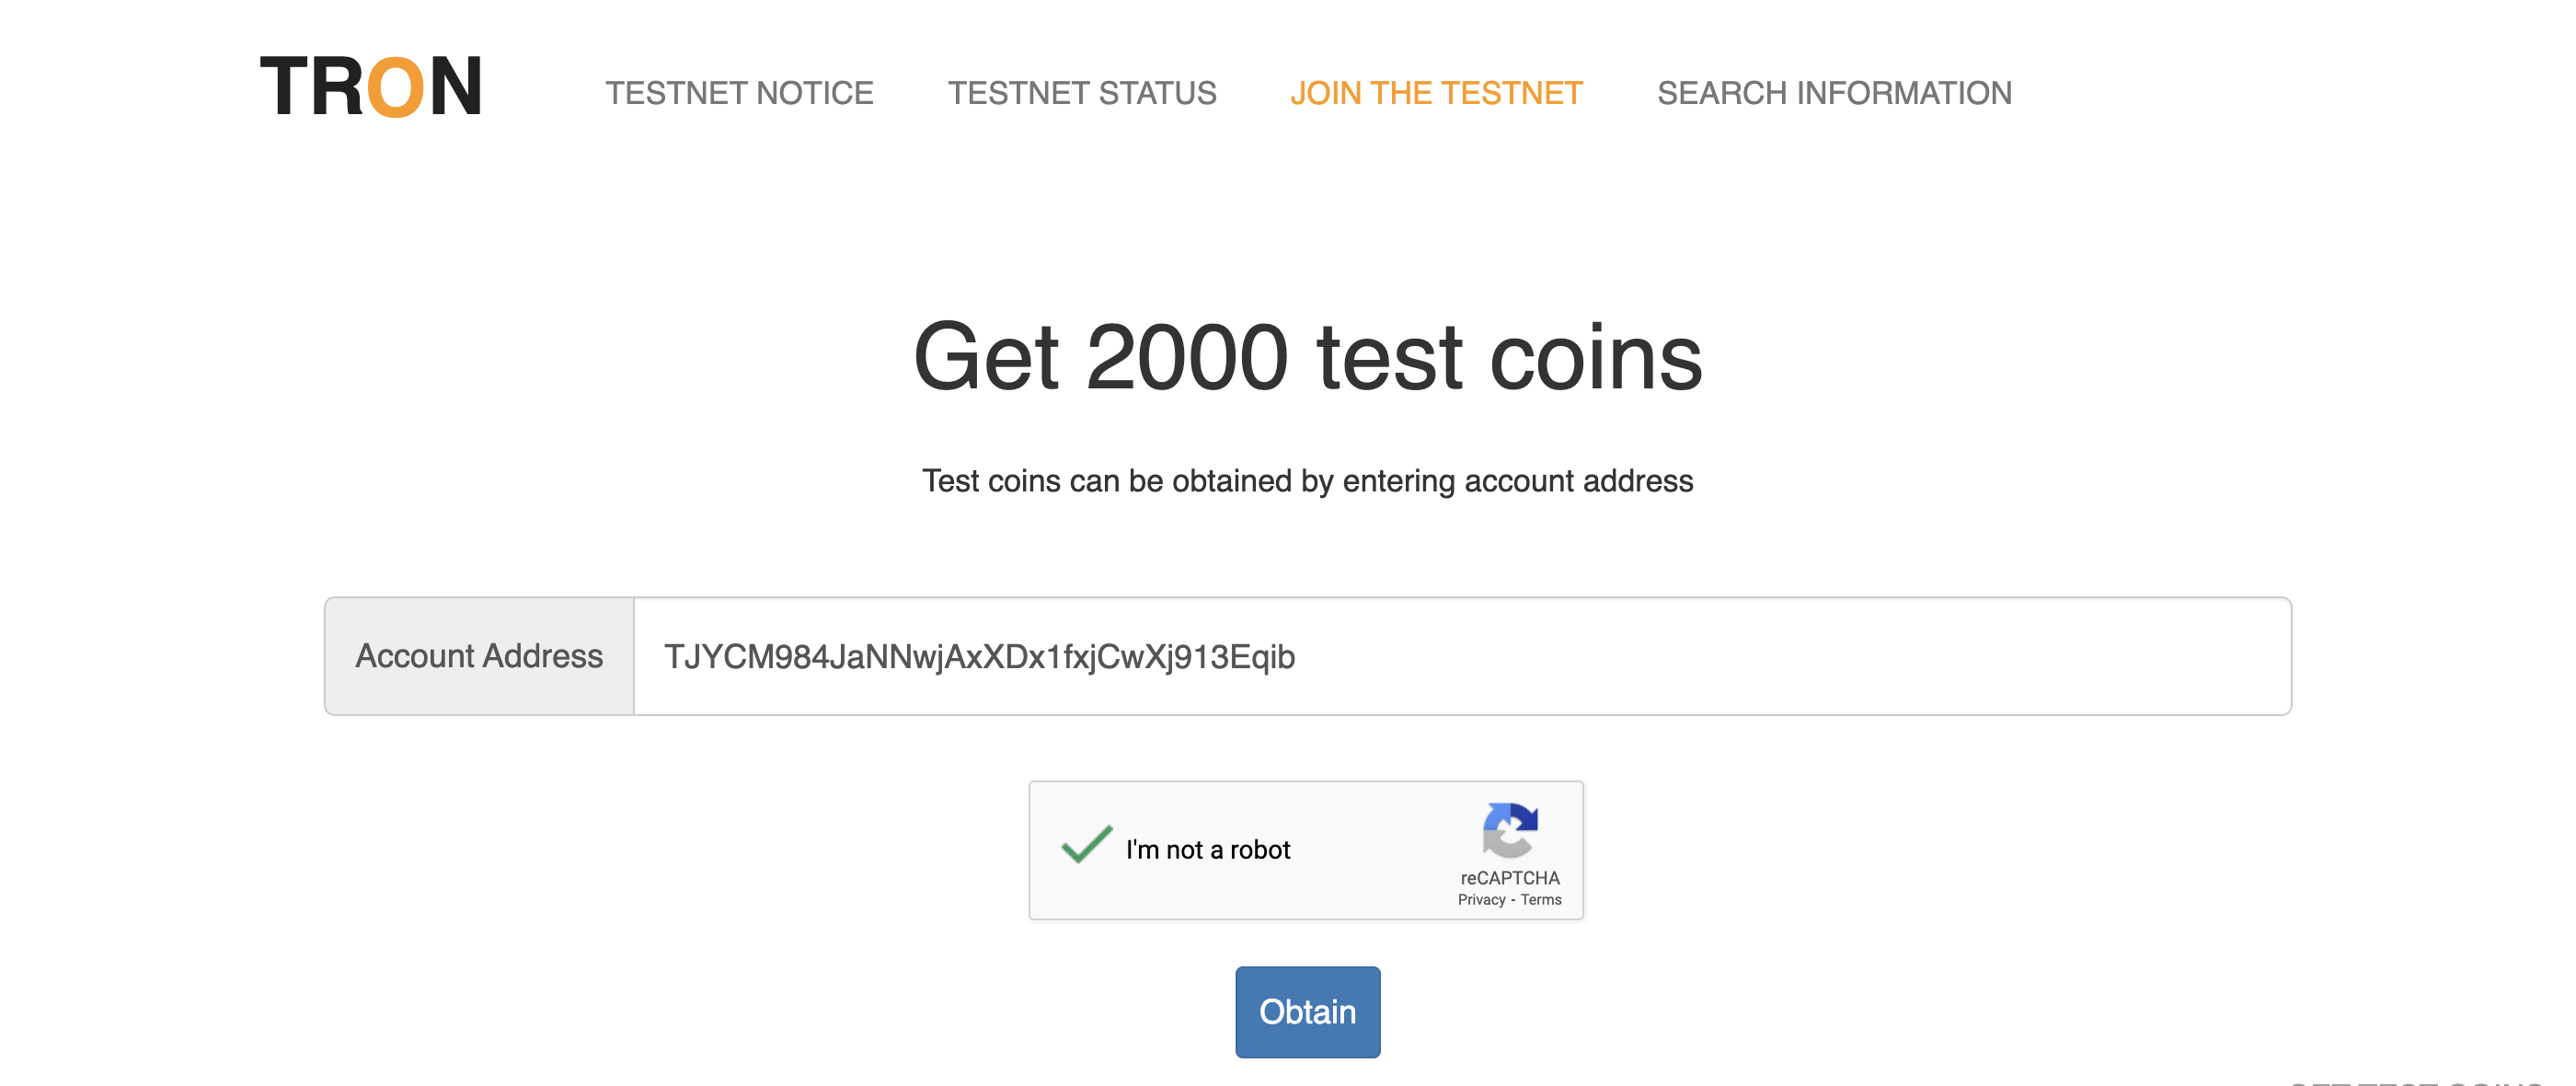
2000 test Tron coins will be sent to your wallet.
Add BVNK USDT TRC20
To add USDT TRC20 tokens to your TronLink wallet, import the tokens created by BVNK by adding the smart contract to your wallet.
To add a smart token, do the following:
-
Go to Tronscan, and click Connect Wallet on the top right.
-
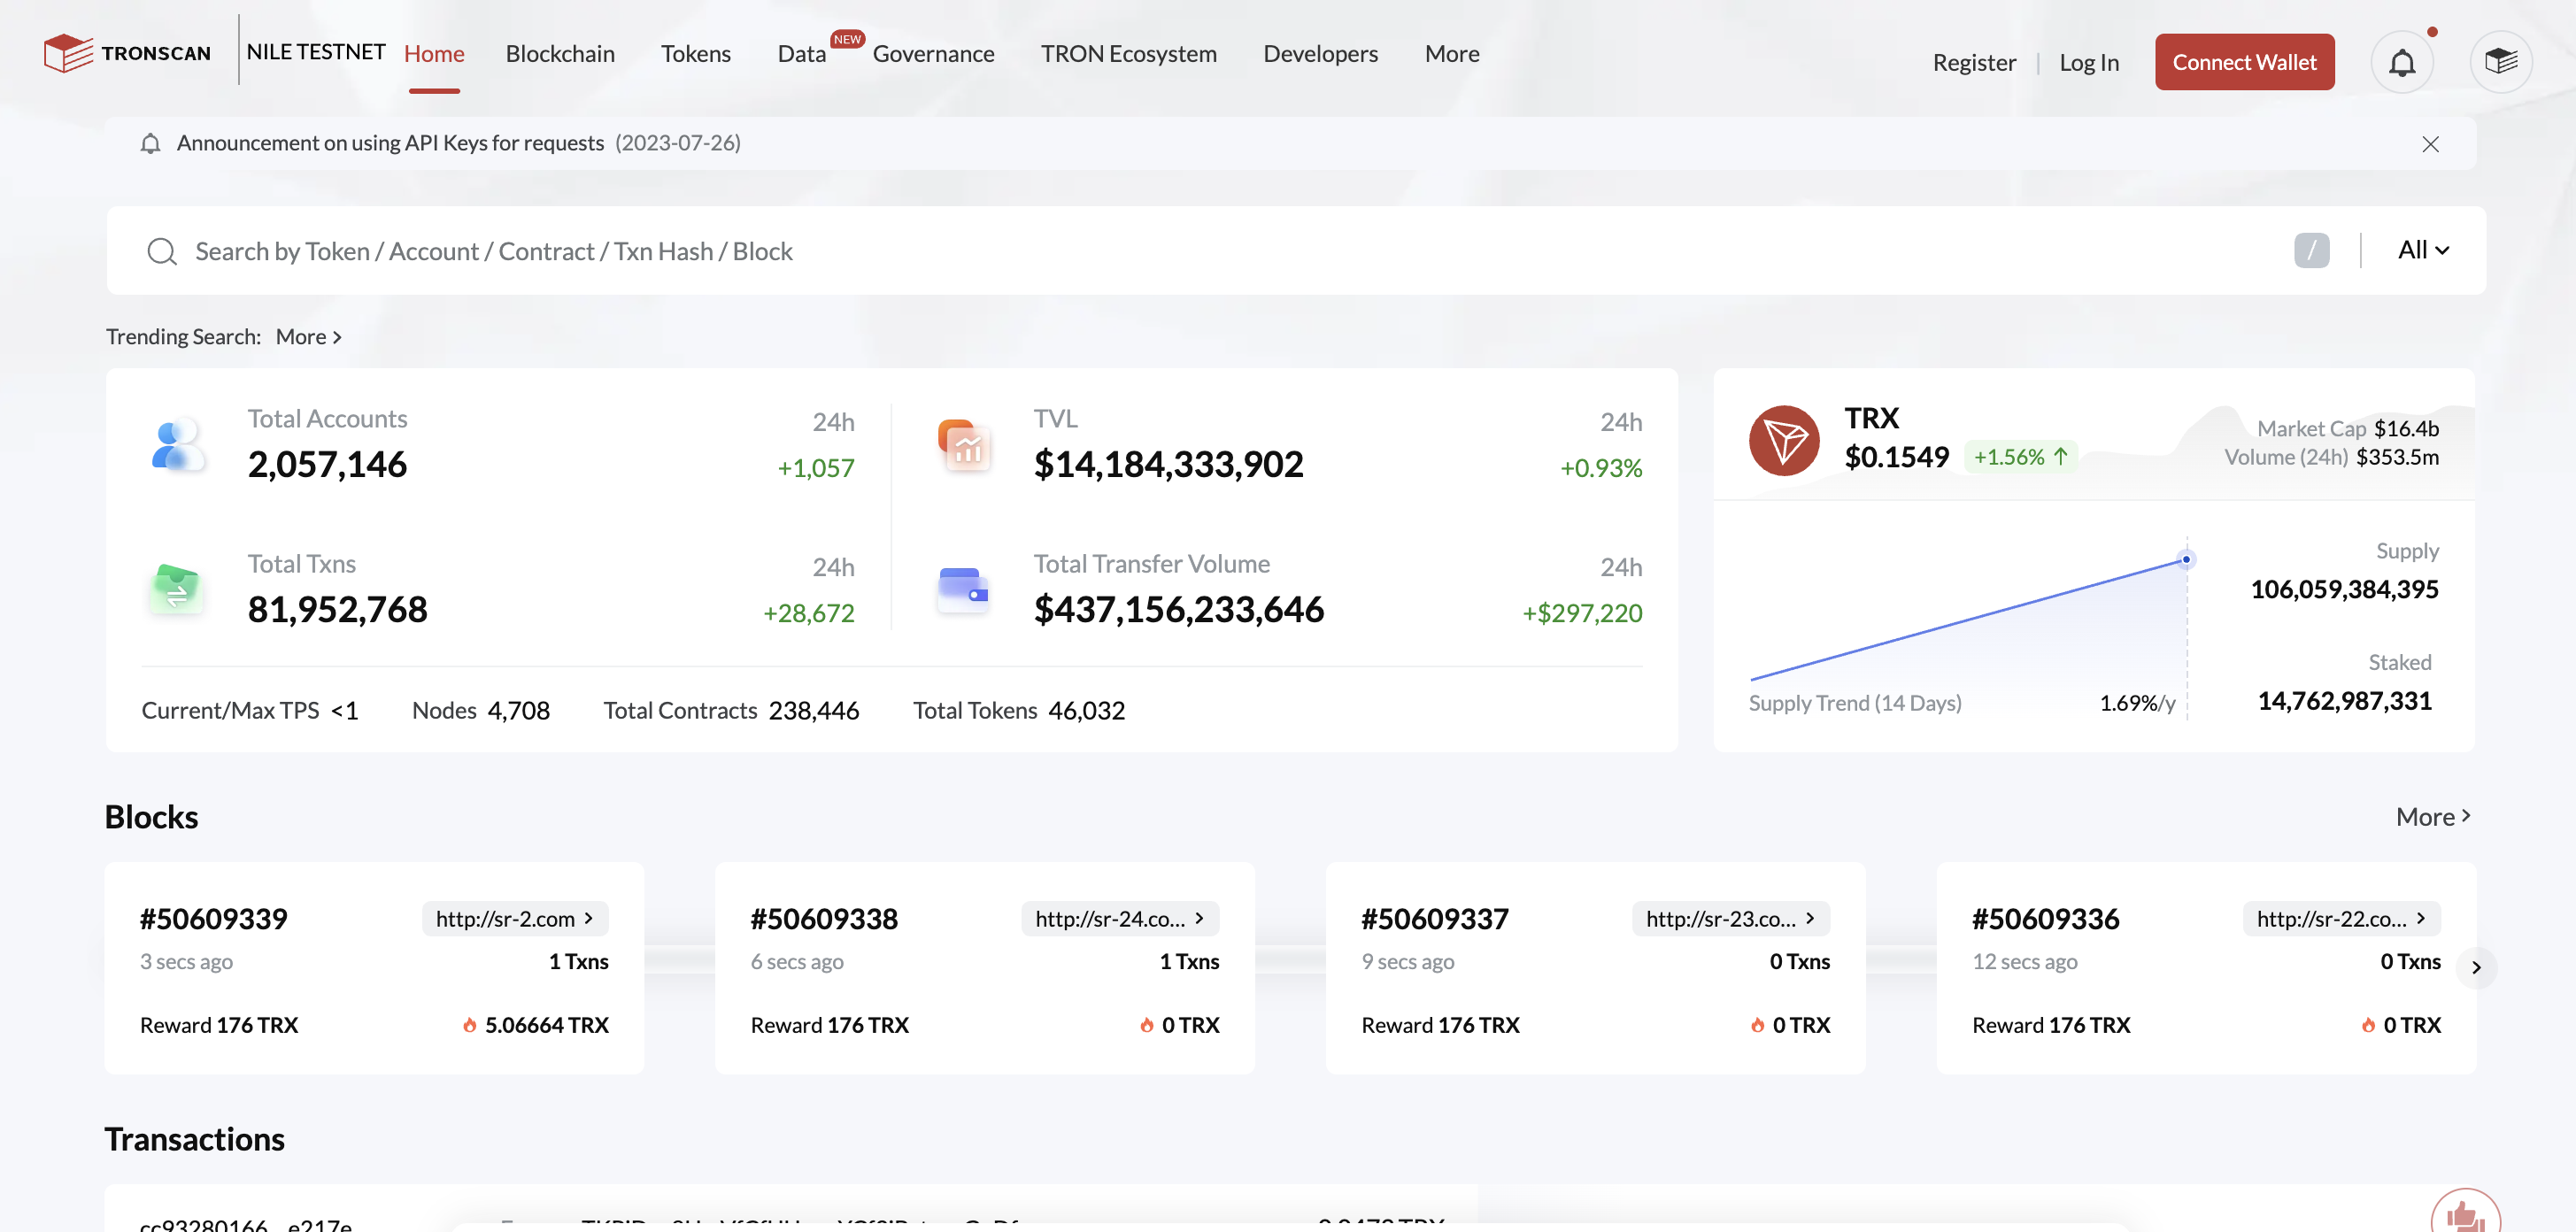
In the Search bar, enter
TY1DBj7Ys1bDcK37kwATaQpHxdTCnYrr1f.
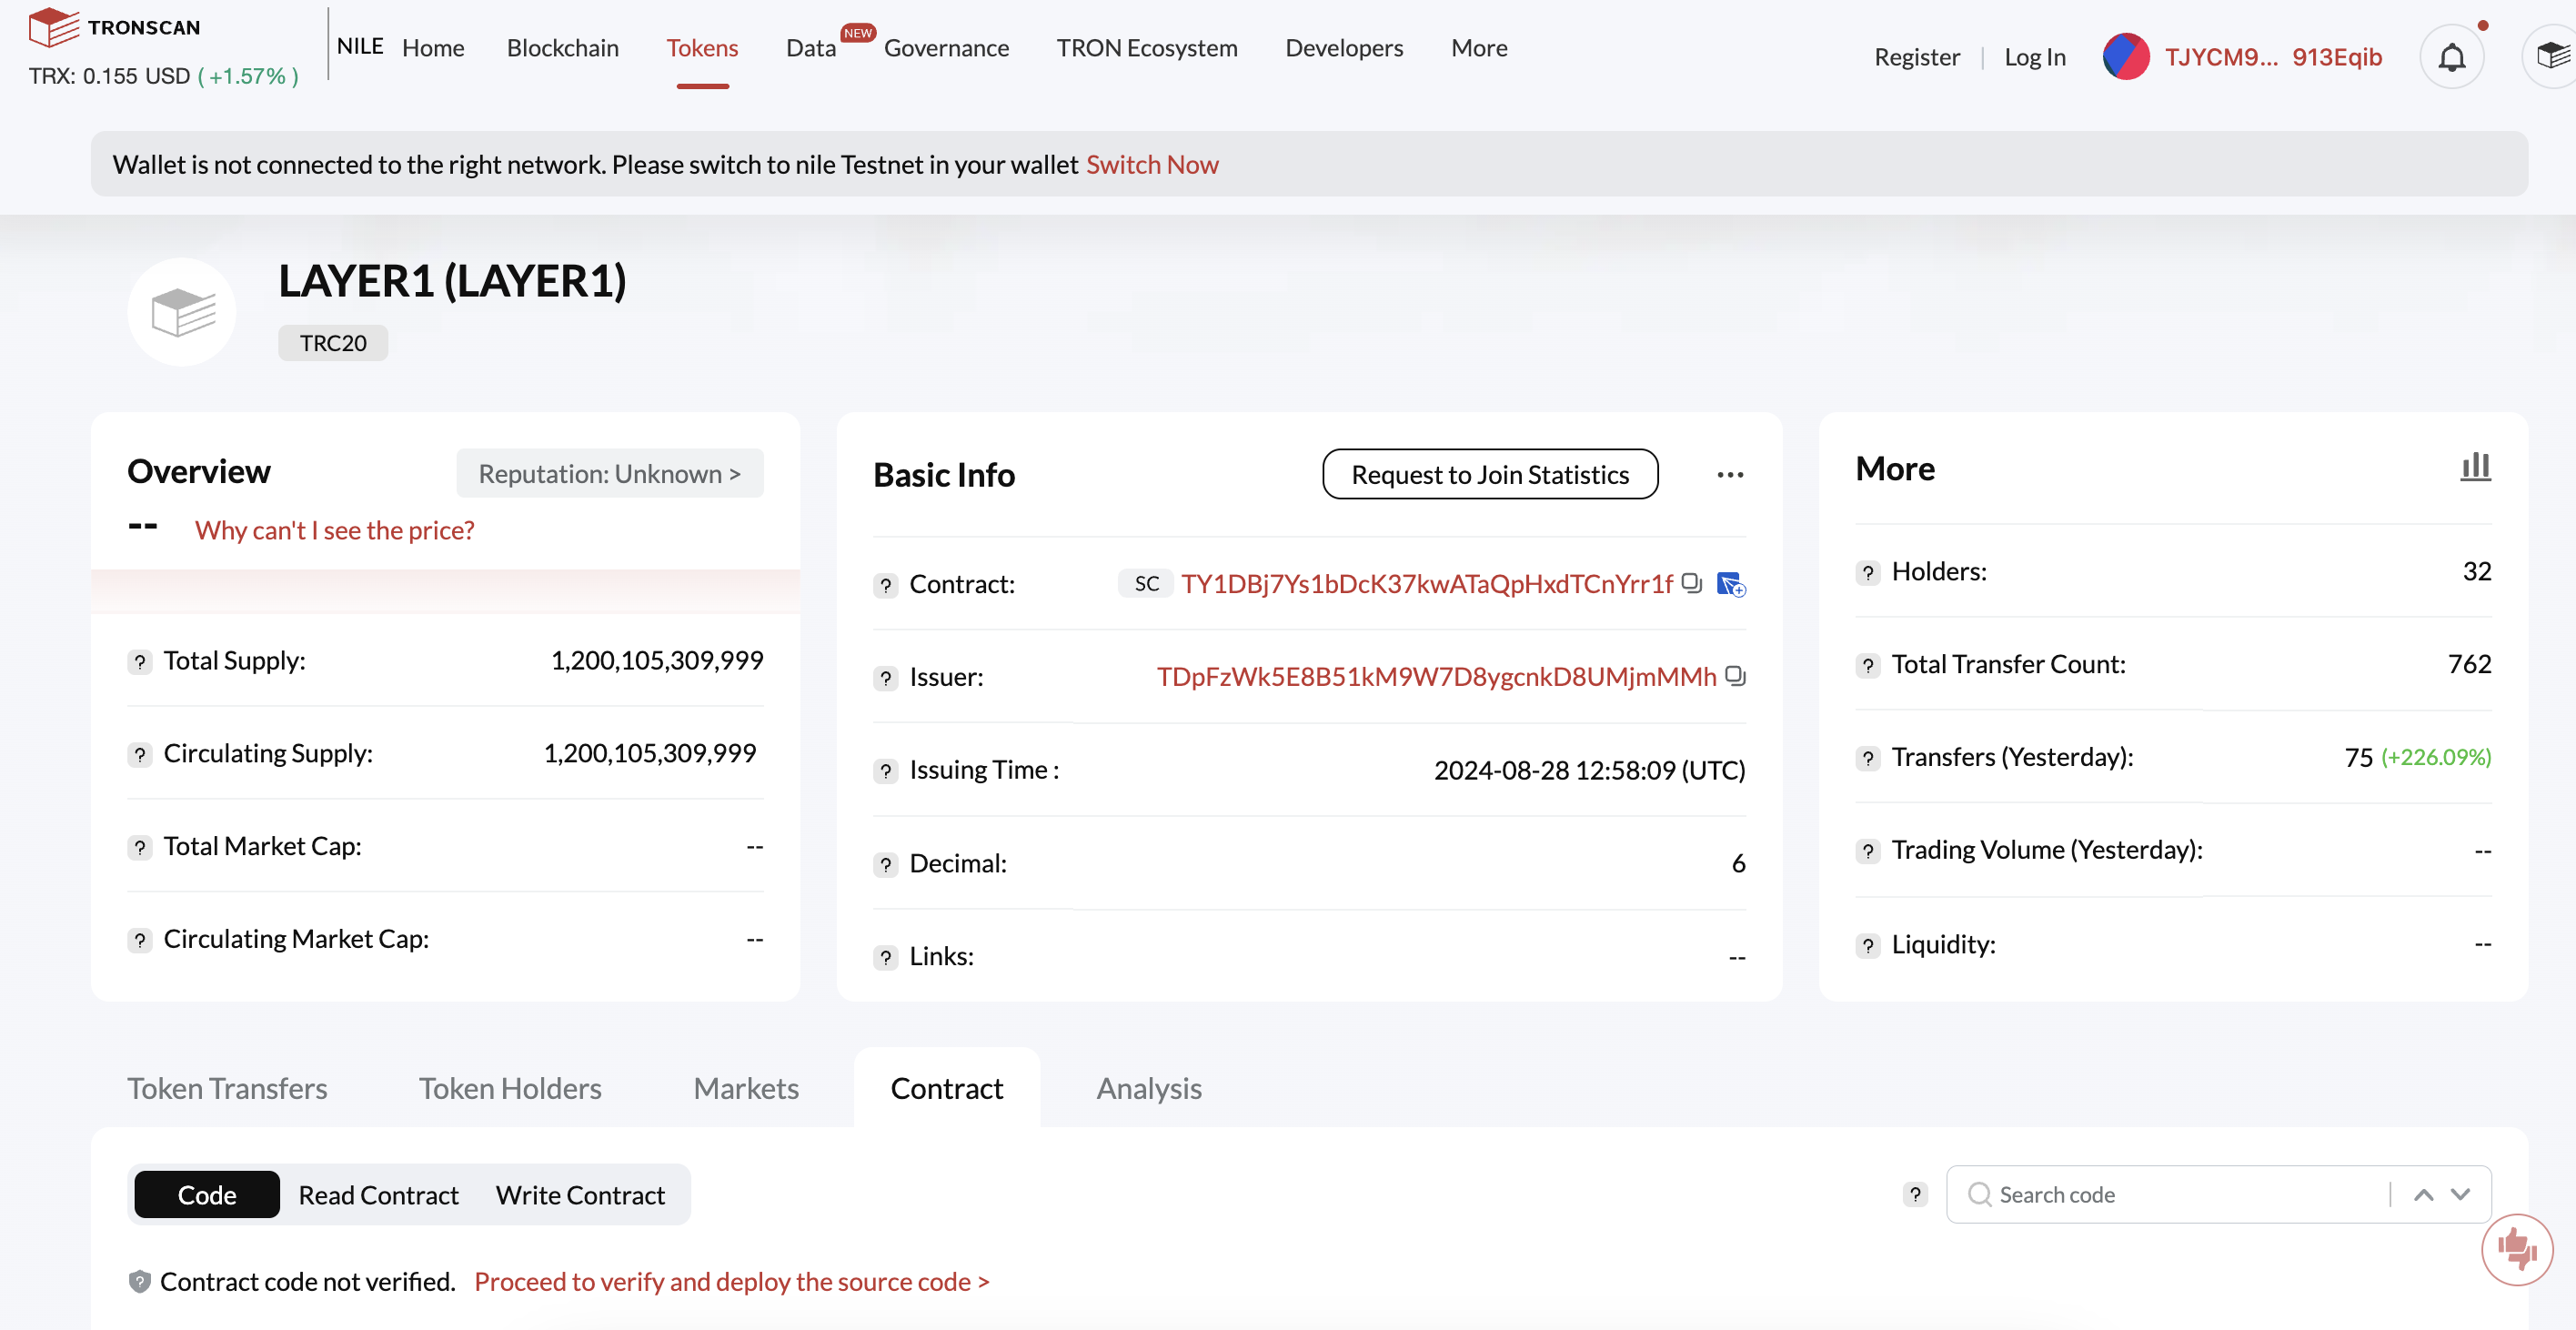
The LAYER1 token appears. This is a BVNK test USDT token that can be used as a USDT TRC20. -

Select this token.
-
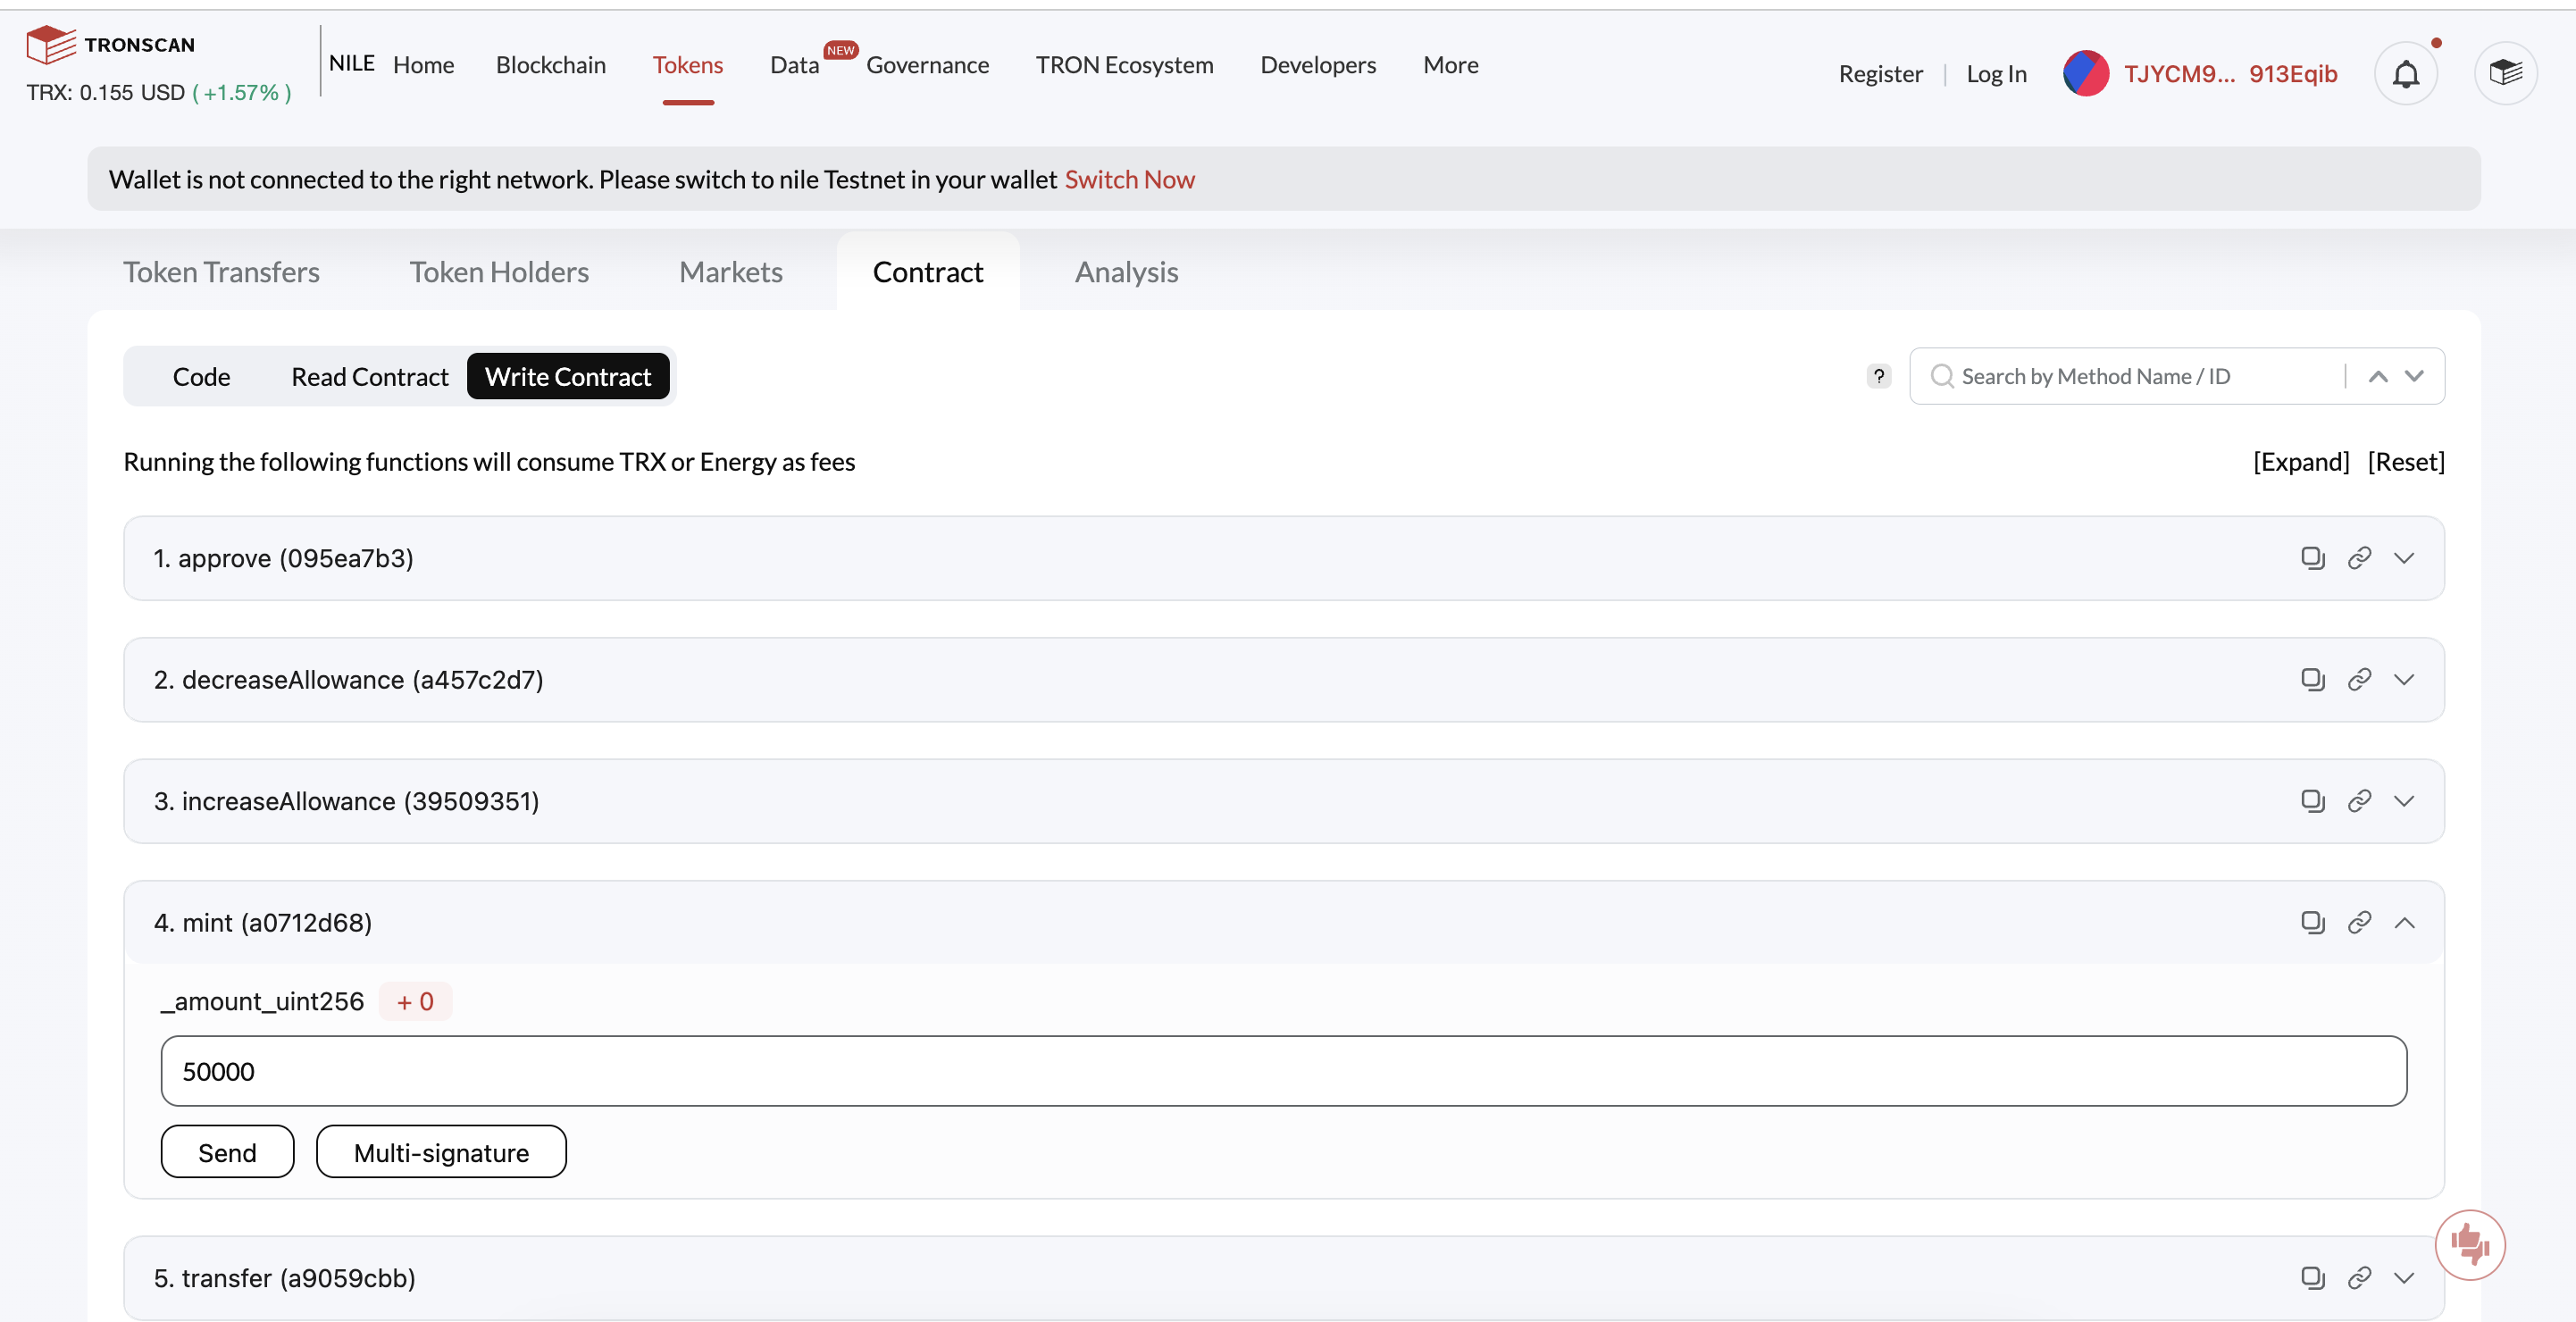
Go to the Contract tab > Write Contract, and select mint.
Enter the amount of tokens to receive (for example, 50.000), and click Send.
-
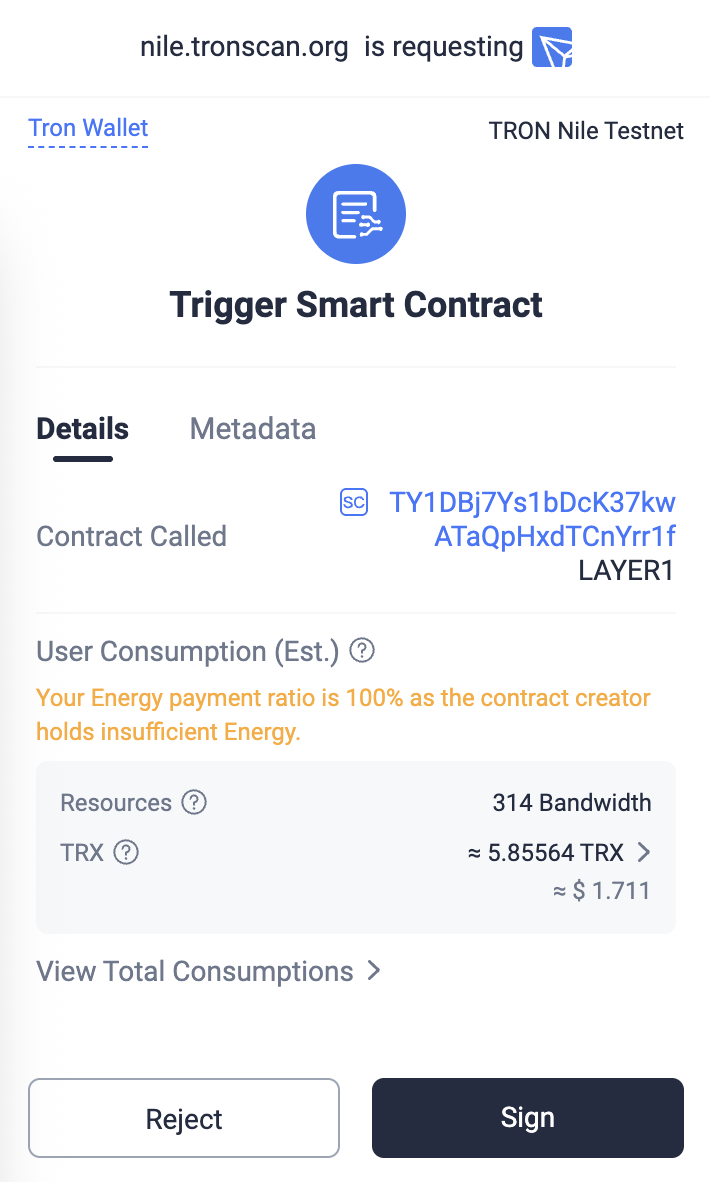
The Trigger Smart Contract window may appear. Click Sign.
-
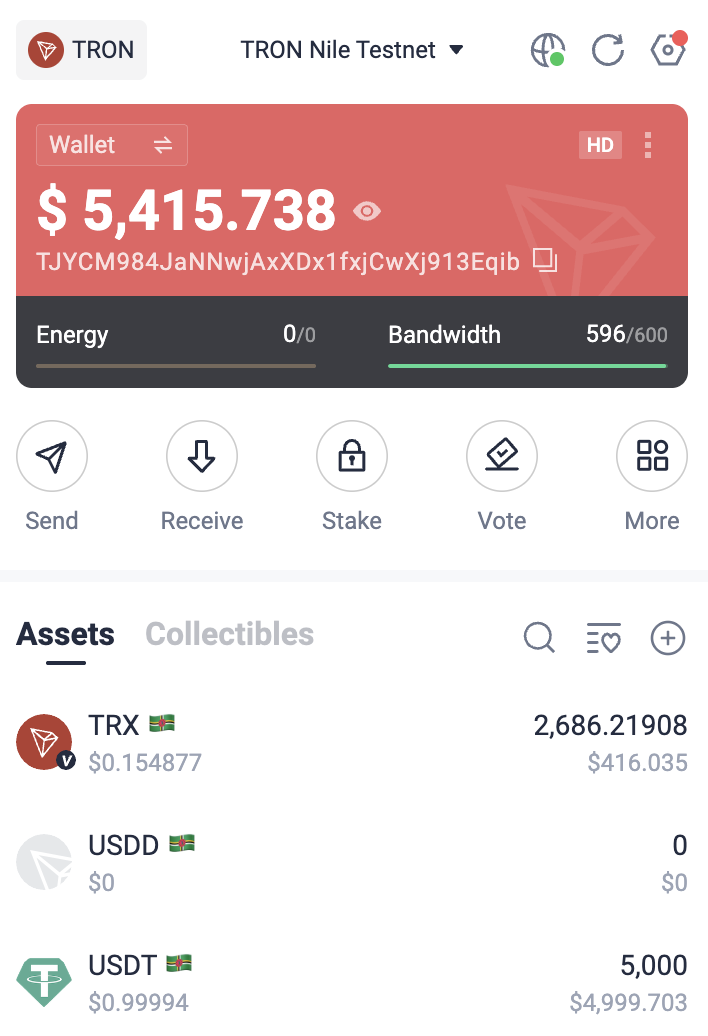
Once the transaction has gone through, open your TronLink extension in Chrome, and next to Assets, click the "+" sign.
-
In the Assets list, in the New section, select LAYER1, and click the "+" sign.
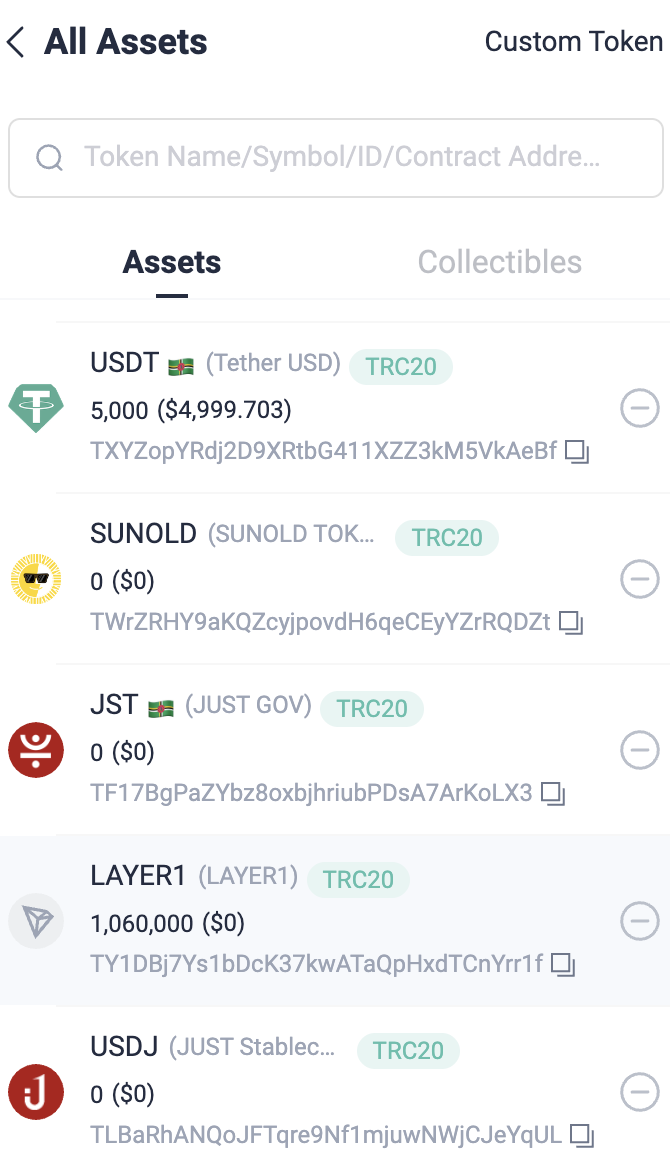
You now have BVNK LAYER 1 (USDT TRC20) Testnet tokens that can be used in transactions via API and the BVNK portal for both payments in and out.
You've successfully acquired BVNK LAYER 1 (USDT TRC20) Testnet tokens. These tokens are designed for testing purposes and can be utilised in various ways:
- Simulate transactions through the API.
- Test payment flows within the BVNK Portal.
- Experiment with both incoming and outgoing payments.
This allows you to thoroughly evaluate the platform's functionality in a risk-free environment before engaging with real assets.
Updated 3 months ago